May 27, 2011

Seattle Highlights


One of the vendors had this in his display case. Love that!

What in the world? I guess I need more culinary experience.


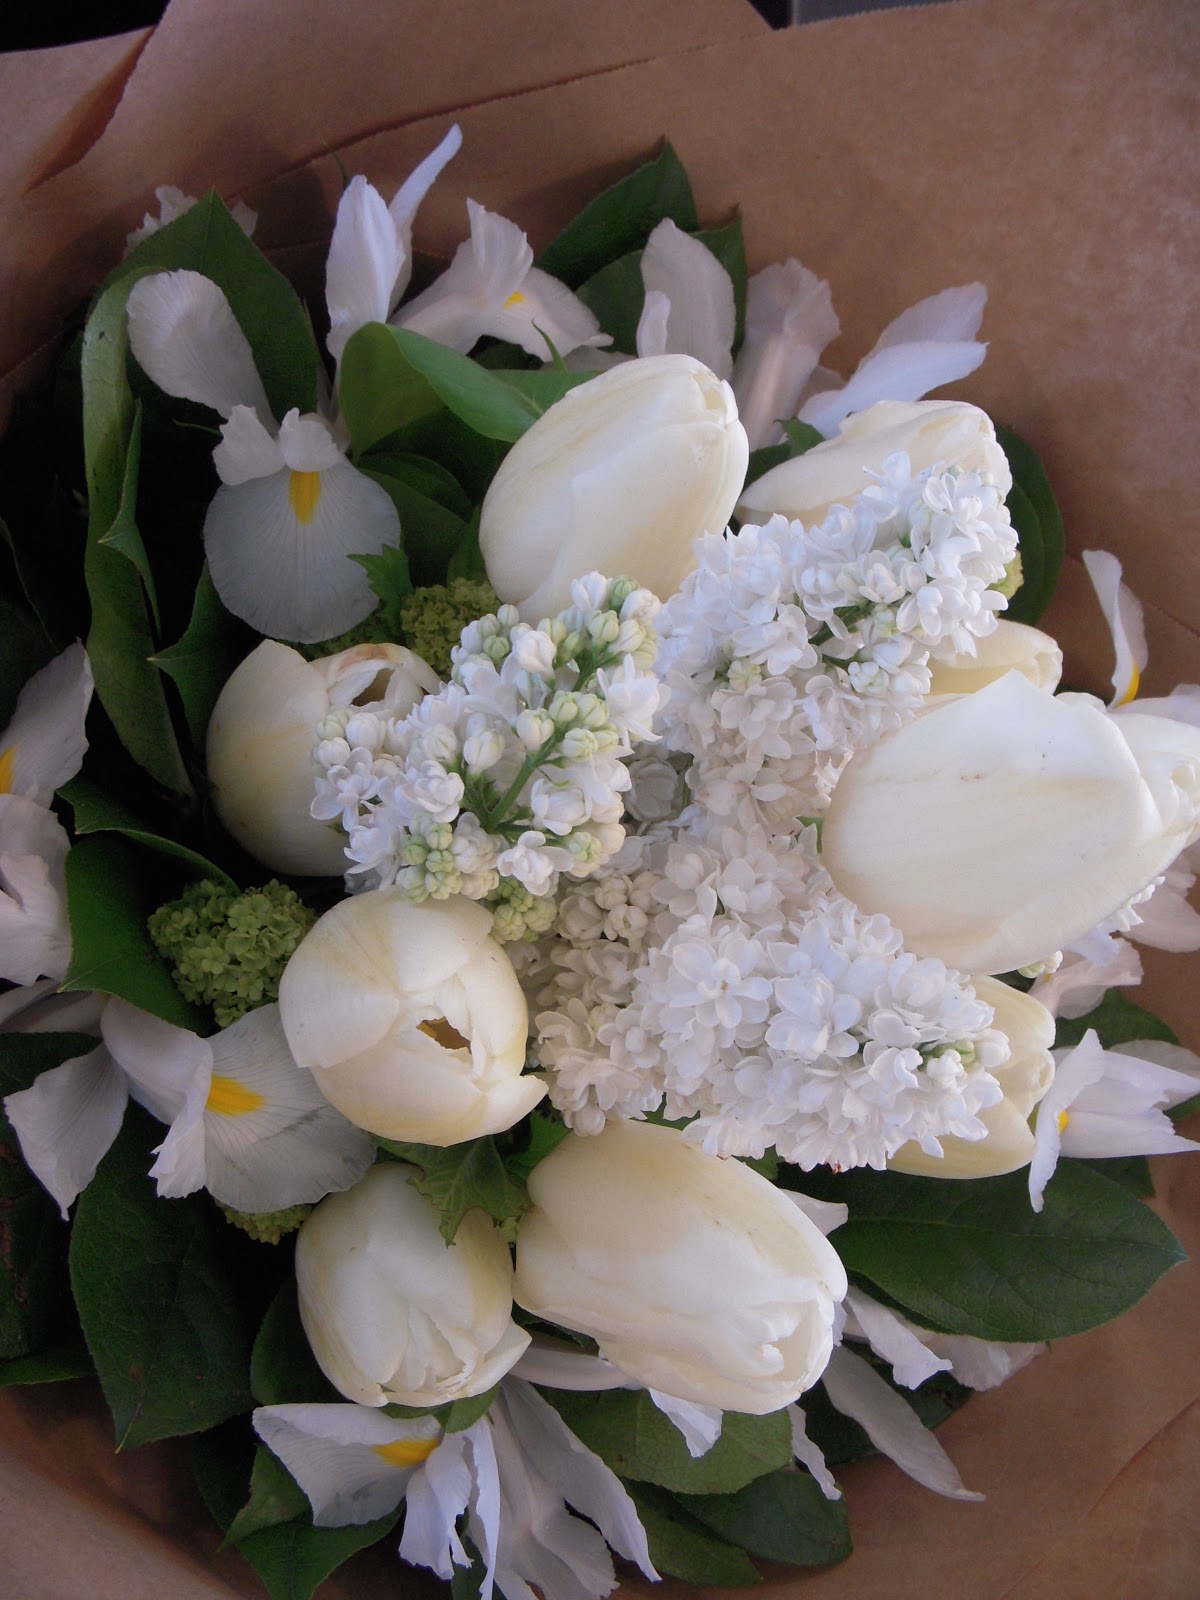
Even away from home B finds me flowers!

I wish I could package up the smells from the bakery and send them to you.

May 19, 2011

Shades of Yellow

Yellow is our theme around here this week. Love it! Bright and fresh. Cheerful and cozy. This scale is on display on my sideboard.  Tea for two?
I succeeded in making my first skirt. What I thought would only be an experiment with some extra fabric turned out to be a fun wardrobe piece. I grabbed a skirt from storage and made my own pattern. Maybe not perfect yet, but I am pleased as punch.
And here is a glimpse of our progress on the yard. We have been working hard this week weeding and making our garden beds. I am trying to figure out how to set up this area by the front door. I would like to paint the white brick a soft cream to match the trim on the windows.  The flower arrangement is a work in progress. Any suggestions? In the meantime, I love pulling up the driveway and seeing this inviting chair rather than a rickety old bench. One step at a time, right?

May 13, 2011

Homemade Compost Tips

We finally crossed making a compost bin off the list. After some reading we decided it might be best to start with an extra garbage can. It just seemed less intimidating. Here is the thing. Our pics are at least temporarily erased from the disk. Rats! So if you are a visual learner, you can Google homemade compost for helpful photos. Anyway, this is a small list of what we learned:
 1) Drill holes (or use a hammer and good sized nail) into the sides of the garbage can. Drill from the outside in. Holes should be approximately every six to eight inches or so for the oxygen to help break down your materials.
  2) Place the compost on top of large bricks laid on their side.
  3) Fill bin with alternating layers of green and brown material. Brown includes things like newspaper, junk mail, wood shavings, and cardboard.
Green materials include grass, kitchen scraps (with the exception of meat and limes), coffee grinds and tea bags. It is best to break up things like egg shells so they break down more quickly.
4) Materials in the bin should remain moist, like a wrung out sponge. If they get dry, go ahead and spray some water on it.
5) About once a week,  turn the bin on its side with the lid on, and give it a few turns. This is one advantage to having a compost container with a lid. Rather than manually turning all the ingredients with a tool, just turn and roll. We are also hoping to minimize pests and moisture by keeping the lid securely on the compost.
 6) Wait patiently. In four to eight weeks we should have some beautiful compost for the garden. I'll keep you posted on the results.

As excited as I am sharing all this "garbage" with you, I thought you might want to see something a little more, shall we say, pretty. Here are some of my favorites I made for my sister's baby shower next week.

A cozy play blanket

Cuter with a sweet baby to demonstrate

One of the bibs. Since this baby is named after Papa, who loves camping, hiking, kayaking, etc...

No, not for the baby. This is one of the party favors.
All together now: A tea/ flour sack towel set, coaster set, cloth napkins, coffee cozy with my favorite teas, and another cozy with a small bag to keep items organized in your purse

May 7, 2011

Happy Mother's Day!

Today I completed my first stencil project. Having to make a gift usually inspires me to try new things, so I courageously set out to make a tea towel using some flour sacks my mother-in-law donated to my sewing stash. I am glad I did. This was super fun! If you want to try along with me, check out this source for instructions on stenciling with freezer paper. I was so concentrated on the steps that I forgot to take pics to help you follow along.  I promise to share photos of the process next time. It's simple, it's fun, and once I had the stencil cut things went rather quickly.
I was searching for a peacock design for the towel. In the end I created this birdie using a similar image I found from Lotta Jansdotter, one of my favorite artists in the stenciling world.


On a different note, Happy Mother's Day! When my kids are grown, I think I might have to pick dandelions for my table. I love how happy they are to surprise me with a fresh bouquet! Beautiful, don't you think?


April 29, 2011

Our Cherry Tree


My helpers and I have been pulling ivy off the cherry tree in our back yard. It was sort of like stripping wallpaper. Once you get going it becomes a game to see who can get the largest piece. Last year was our first summer here, and the cherries were few. I am hoping to save the tree, and in the meantime we are enjoying the blossoms. How are you prepping your yards for planting?

Happy weekend!

April 25, 2011

First Attempt at Apple Pie

Happy Easter! I hope you had a great day celebrating and maybe relaxing. We are looking forward to the next fifty days of feasting during this Easter season!

We had a fairly quiet time around here. After Church Matt and I cooked while the kids took their nap. And then I rolled up my sleeves to bake my first pie! I had a lot of fun, although at moments I was working up a nervous sweat. "Am I working the dough too much? Hmm...just a bit more. The recipe says the butter should be about the size of peas."


I refrigerated the dough in plastic wrap for about half an hour (I know it should be at least an hour, but I was in a hurry!) and then set it out to let it adjust to room temperature. After sprinkling flour on the counter, I rolled it out. Here is where I got nervous. My edges were breaking and uneven, and the dough started sticking to the counter. I rolled it out, stuck it back together here and there, folded it in half, and laid it inside my buttered pie pan. After I unfolded it, I put in my apple filling and repeated the same process of rolling and folding/unfolding for the top crust. Hey, this is my first time. I was not focused on presentation, just taste. It turned out alright. The dough was maybe a bit thick and doughy, and I will concentrate more on the apples next time (more apples, more sugar needed.) But all in all, a pat on the back for trying and enjoy!