

I cut a curvy circle, about 4 in. in diameter. On one of the outer ripples, I started cutting into the circle and just continued to cut around in about 1/2 in. circle all the way to the center, leaving a little hook in the middle. Starting from the center, tuck in and around to the outer edge, securing with stitches or hot glue. I spread it out here, just to show you what it looks like.


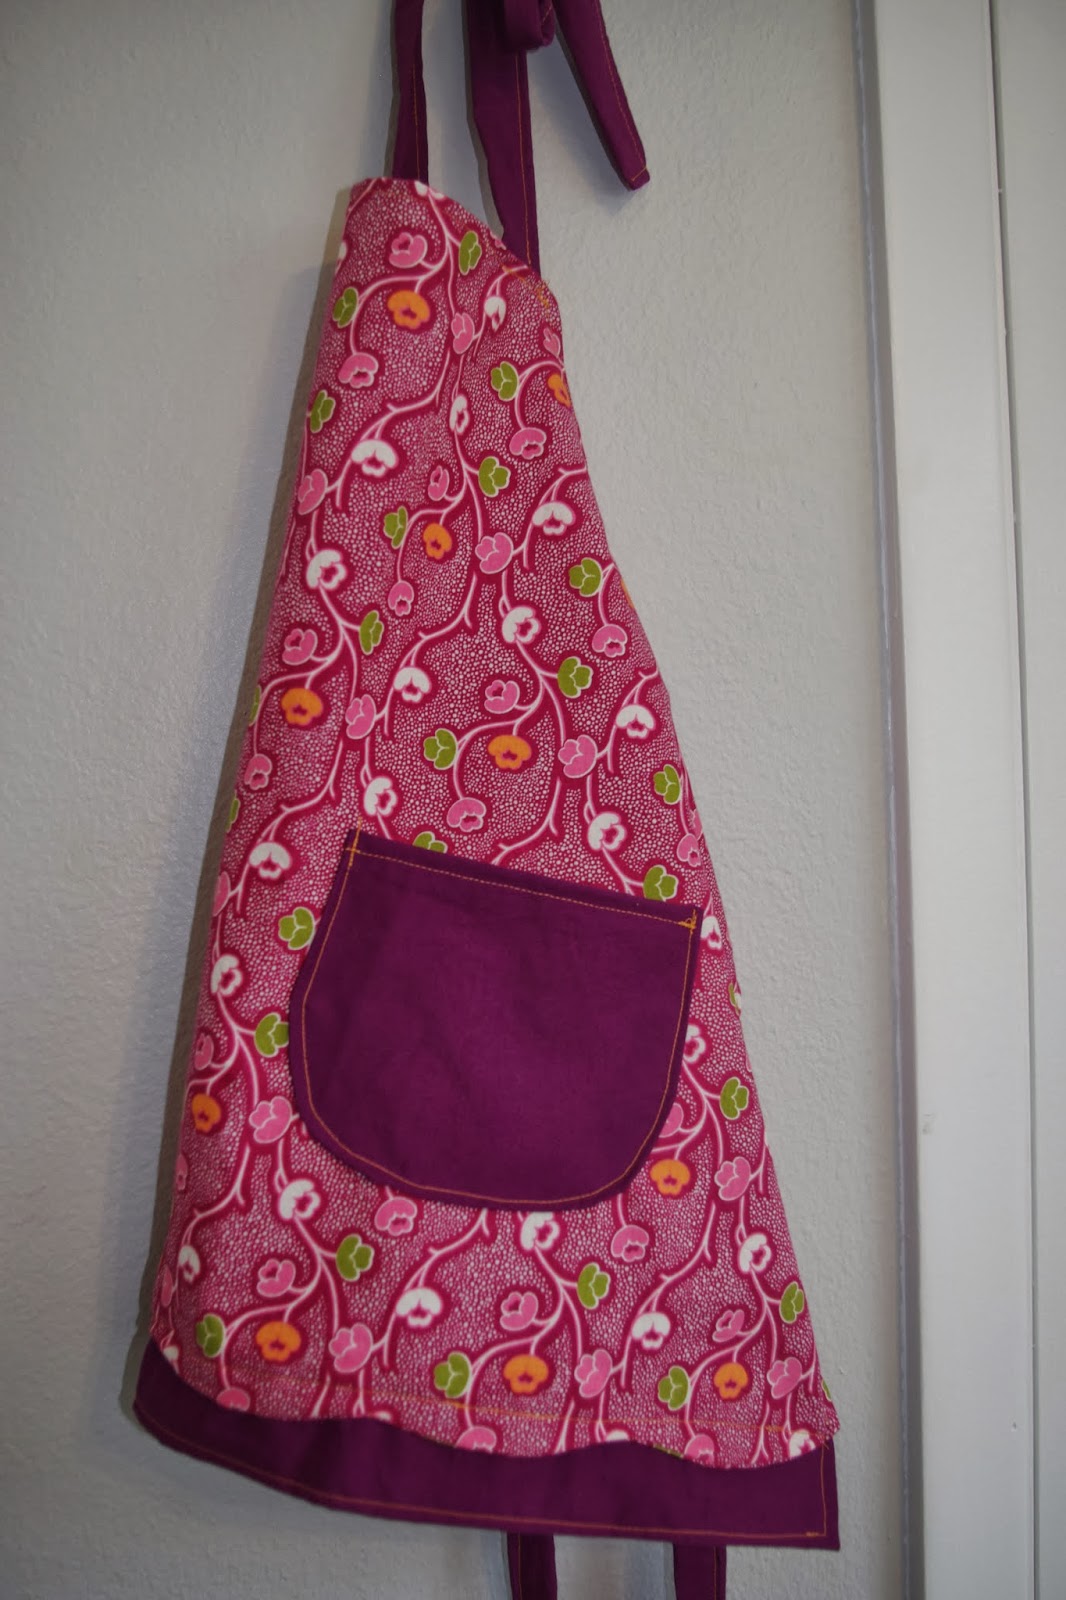
I'm following up this year's gift making series with a scalloped hem I added to a kid's apron. For years I have wanted to try making this apron from Anthropologie.

To make the scalloped hem, I added an extra 1.5 in. to the bottom of the apron. Sew the rest of apron as you normally would, turning back the edges twice, press, and sew. Do not sew along the bottom yet.
The next step is to either serge or cut along that bottom edge with pinking shears to prevent fraying. Turn the bottom edge 1.5 inches to the right side and iron.

This next part is where we get creative. Don't worry, if I can do it, we can do it together. Measure the width of your bottom hem and determine how big you want your curves. I wanted mine 4 inches long and 1 inch deep. Using a Trader Joe's paper bag, I measured and marked those increments on the paper and cut it out. You could also use a can of stewed tomatoes, olives, or diced chilies, by continuing to draw along the outer edge of one side. Just evenly divide your width into the number of scallops you want.

Trace you pattern with chalk directly onto the wrong side of the pressed hem. Sew just inside the traced line, taking your time around the corners so you have a smooth curve. Then, cut the fabric close to that sewn line, leaving about 1/4 in. seam.
Turn the fabric right side out, using something like the handle of a wooden spoon to press out the corners. Press.

I wanted an additional border behind the scalloped edge. To do this, cut a rectangle 5 inches wide and 1 inch wider than the finished bottom hem. Fold the rectangle in half lengthwise, press, and sew along the open edge, leaving 1/4 in. seam. Turn right side out, and press. Tuck the sides about 1/2 in toward the inside of the rectangle and press, making sure the edges match up with the outer edge of the apron. Sew closed.
Pin to the bottom edge of the apron, about 1/2 in. from the top of the rectangle. Sew pieces together.

That's it. A fairly easy gift for a kid's apron. Or for an adult, you might add some favorite recipes, cookbook, or new serving dish. Or some homemade jam or honey. Maybe even a new cutting knife or silverware. You could make hot pads to match. Fun!
And so the boys aren't left out, here is the tractor/car apron I made. Happy Feast Day!

Thanks for the flower tutorial - super cute!! And nice aprons :)
ReplyDeleteMary
This comment has been removed by the author.
ReplyDeleteThanks and you're welcome
ReplyDelete