
First on the list are these boot toppers.

These made with a soft, chunky weight yarn. I used two needles, and when I was finished, sewed the two ends together with a knitting needle. Directions are below. The tweed pattern seen on the lower half requires multiples of 2 plus 1, so I first cast on 41 stitches. The top rows were ribbed (knit two, purl two - purl last three stitches.) Once I reached the length I wanted, I began the tweed.
Row 1: (Right side) purl 2, *yb, slip a stitch purlwise, yf, purl 1, repeat from * to last stitch, purl 1
Row 2: knit 1, yf, slip 1 purlwise, yb, k1 repeat from * to end of the row
Yarn back (yb)- place the working yarn, or tail from the right needle to the ball of yarn, to the back
Yarn front 9yf)- bring yarn forward of the right needle
Then just cast off and weave in ends or tie in small knot, if you prefer. To sew your side seams together, turn the boot cuff right sides together. I threaded a large eyed needle with the same yarn, tied a knot at the end, and sewed the seam together by inserting the needle into the stitches closest to the outer edge. I prefer a small knot, and then wove in the end.

These boot cuffs were made using a lace pattern from knitpicks.com. It's a little more time consuming, but so beautiful when it's finished.

The second gift I made was inspired by Country Living. I should say, my father-in-law made.


I told him the idea, and he put it together for me. Thanks Gramps! I needed an elf to help me finish.
To make an I-Pad/ recipe holder, you need a cutting board, a ledge (we made one, but you can use one from the Scrabble game or glass knobs) and a triangular piece of wood strong enough to hold it up in the back. We used some of that gripper stuff for the bottom, just to keep everything from slipping. Then use a hot glue gun to put it all together!
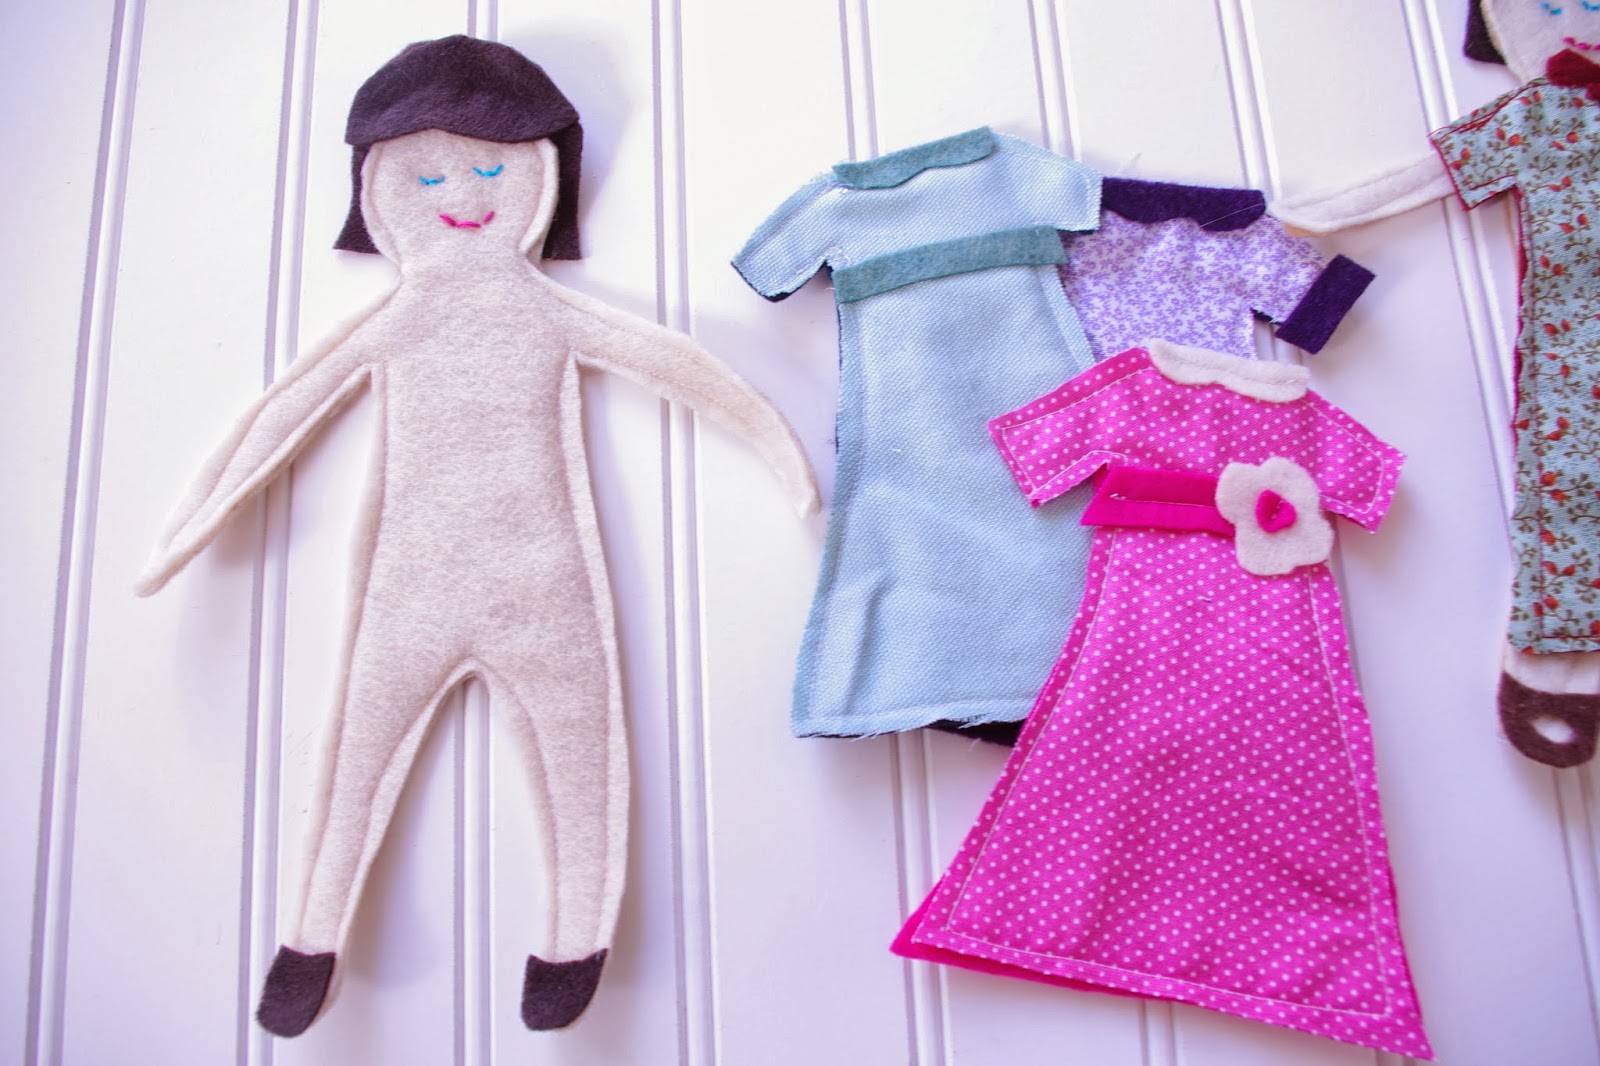
Last up are these felt dolls.

Each doll is made by stitching together two pieces of felt from a hand drawn pattern I made. For the dress, I cut the a piece of fabric and sewed it to felt. I used fray protector along the outer fabric edge. The faces are sewn with embroidery floss.
The End.
Merry Christmas!!!
Awesome!! Way to go Jess :) You're so creative and talented.
ReplyDeleteMary
Aahhh, shucks. Thanks! It was fun! Crazy at times, but fun!
ReplyDelete